
Showing posts with label Toolkit Maya. Show all posts
Showing posts with label Toolkit Maya. Show all posts
Wednesday, 30 April 2014
Thursday, 24 April 2014
Thursday, 17 April 2014
Fantastic Voyage: Texturing of Digital Set
This are the final images of my objects after they have been textured.
 |
| Study Desk |
 |
| Study Desk |
 |
| Bookshelf |
 |
| Bookshelf |
 |
| Layout of the Room |
 |
| Everything In The Digital Set |


Fantastic Voyage: UV Layout of Digital Set
Before I was able to place any textures on my objects in maya, I had to UV map them first. By doing so, I avoid any kind of distortion to my objects once I place the textures.
 |
| Books, Lamp, Globe, Trees and Ferns |
 |
| Books, Lamp, Globe, Trees and Ferns |
 |
| Wall Posters |
 |
| Bookshelf |
 |
| Bookshelf |
 |
| Layout of the Room |
 |
| Everything in the Digital Set |
Monday, 14 April 2014
Visual Effects: Render Layers (Mental Ray & Matte Passes)
 |
| Setting Up The Render Layers In Maya |
 |
| Bringing The Layers From Maya To Photoshop |
 |
| Plugging In The Matte Layers Under The Channels In Photoshop |
 |
| Final Image Composited In Photoshop |
Visual Effects: Depth Of Field
 |
| Before Any Camera Settings Were Changed In Maya |
 |
| Depth Of Field In Maya Cons: Too Long To Render, Grainy Effect |
The final render that has been composited in Photoshop and After Effects used images from Maya's render layers- The Beauty Pass And The Depth of Field Pass.
 |
| Depth Of Field In Photoshop, with Luminance added to the Alpha Channel Pros: Faster To Composite, More Control over the noise Cons: Single Image Composite |
 |
| Depth Of Field In After Effects Pros: Applicable For An Image Sequence |
Another method from Maya is by using render passes from the render settings. To do this, the camera depth from the tab passes under the render settings is associated to the layer named depth of field under the render layers (Channel Settings).
 |
| Settings |
 |
| Depth Of Field Using Camera Depth Pros: More Accurate In Comparison To Using Luminance Pass |
Visual Effects: Render Layers (Software Rendering)
 |
| Composited in Photoshop With A Single Render Pass From Maya |
 |
| Multiple Render Layers, Each Having Different Attributes |
 |
| The Different Passes From Maya Composited In Photoshop |
 |
| Final Image From The Compositing In Photoshop |
 |
| Compositing In After Effects |
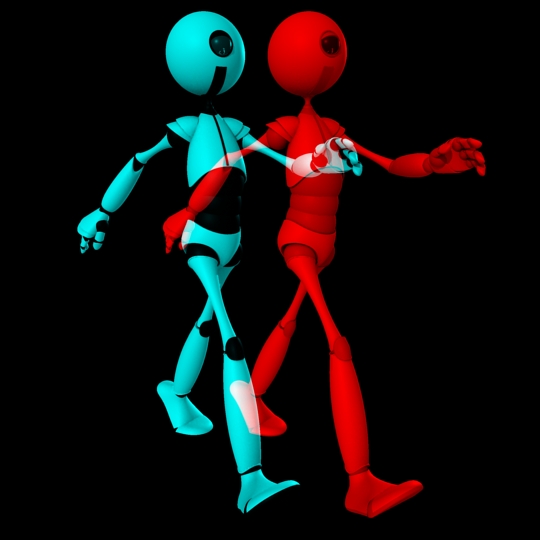
Visual Effects: Stereo Camera Rigs in Photoshop & After Effects
Method 1: Rendering Stereo From Maya
Method 2: Compositing in Photoshop
Method 3: Compositing In After Effects
The Outcome Of Using Different Effects In After Effects
 |
| Before Any Settings were changed in Maya |
 |
| Adding The Distance And Calculations |
 |
| Rendered Stereo Image From Maya |
 |
| Compositing In Photoshop |
 |
| Changing The Layer's Blending Mode To Achieve Final Result |
 |
| Final Composited Image From Photoshop |
 |
| Using Set Channels Effects |
 |
| Using 3D Glasses Effects |
Thursday, 10 April 2014
Fantastic Voyage: Wordings' Refinements
I've decided to add a bit of texture to my words that folds out to give it an extra edge of realism because it was too plain and too clean when there was not any.

Wednesday, 9 April 2014
Fantastic Voyage: Room(Digital Set) Refinements
For my digital set, I've gone to texture the bookshelf, added a glass texture to my window surface and shadows to the scene.
Currently, the glass seems to be too reflective and it looks more like a mirror. I am correcting that and in terms of the overall lighting, I am quite satisfied with it.
Tuesday, 8 April 2014
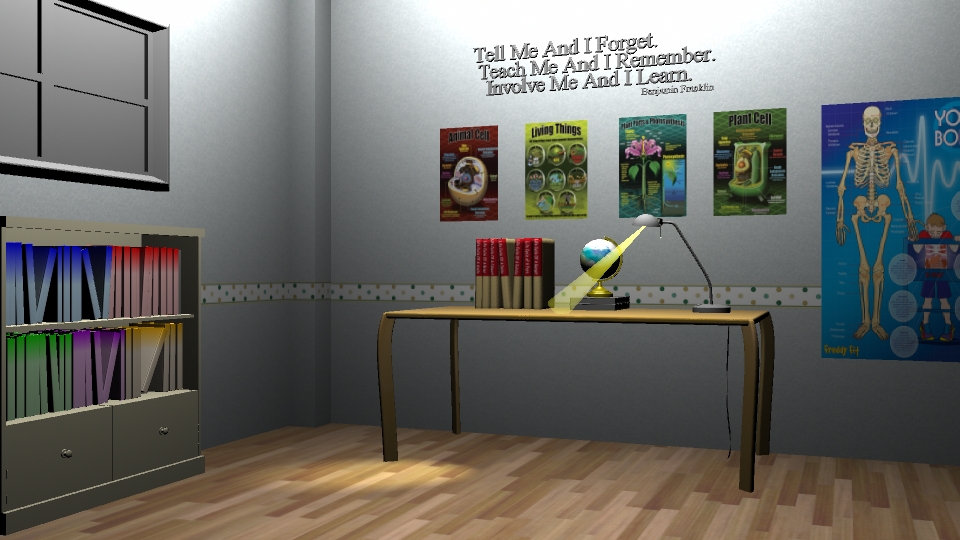
Fantastic Voyage: Room(Digital Set) Further Development
I've added the skirting board, adjusted the borders and the colour of the main wall. Though it has been suggested to add a poster to the back wall, I do not want it to be overpowering the educational posters that are already on those walls so I've added a bit of texture to it but it doesn't seem to take effect. Hence, I will try bump mapping it to give a more realistic feel. Apart from that, I was thinking of adding a couple more poster to the left wall (by the window) as the space there seems a little bit empty. In addition to the further enhance this set, I've done some adjustments in terms of adding folds onto the posters. However, it still looks unrealistic. The lack of shadow might be a contributing factor to this problem.

In comparison to my previous shot, this looks better but I am not satisfied with the overall look as it still looks too CG. I will further enhance the scene by fiddling with my lighting set up and I have decided that this will take place at evening time where the light from the outside world would not affect the scene as much except giving some rim lighting to the top of the bookshelf and the edge of the table.
Monday, 7 April 2014
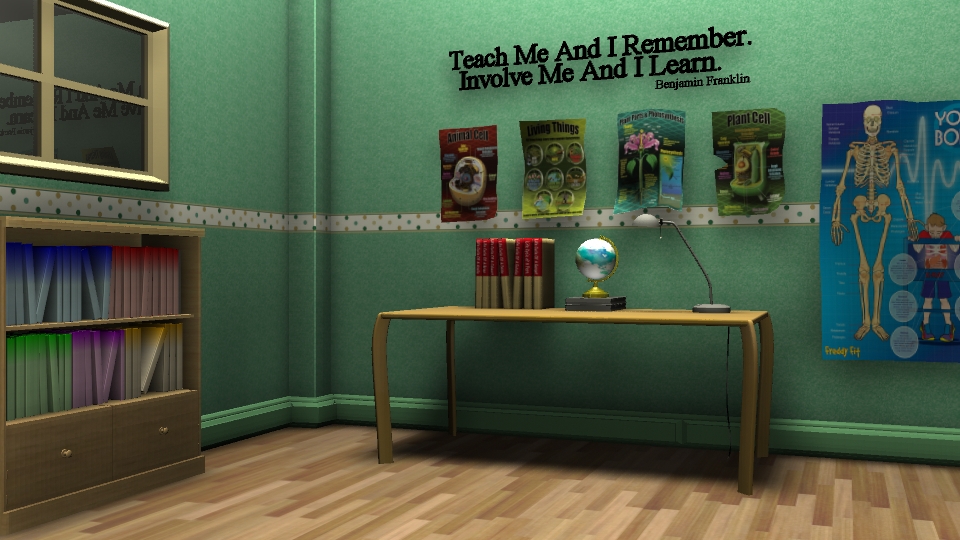
Fantastic Voyage: Room(Digital Set) Texturing & Lighting
After taking into the consideration to make my digital set more engaging, I've added texture to the wall and the ground. I've also added an educational quote and posters into my scene.
I still have to unlink the spotlight to the table as the light is passing through it. As for now, this is what I have. I also still adjusting the room's light in general because there is a hotspot created by the area light in my scene. In terms of texturing it, I would refine the wall's texture by moving the border of the room slightly higher.
I still have to unlink the spotlight to the table as the light is passing through it. As for now, this is what I have. I also still adjusting the room's light in general because there is a hotspot created by the area light in my scene. In terms of texturing it, I would refine the wall's texture by moving the border of the room slightly higher.
Fantastic Voyage: Sun Ray
In my opening scene, I have my center fern in the spotlight to start of the animation. Initially, I have had the sunray as a paper fold out but after analysing my scene and fiddling with the lightings, I thought that having the table lamp would have a better effect. With this, I am thinking of just having the lamp slightly off screen so that you won't see it but you will hear the lamp click, and light will shine on the center fern.
 |
| Paper Fold Out SunRay |
 |
| Table Lamp Sun Ray |
Fantastic Voyage: Room's Lighting
For the establishing shot and the closing shot where the room is seen, I've decided to test out with different lightings. I like the outcome of the area light as it mimics a room's light more in comparison to the ambient light. I am, however, still fiddling with the light settings like the colours, raytrace Shadows attributes to produce better results.
 |
| Ambient Light |
 |
| Area Light |
Sunday, 6 April 2014
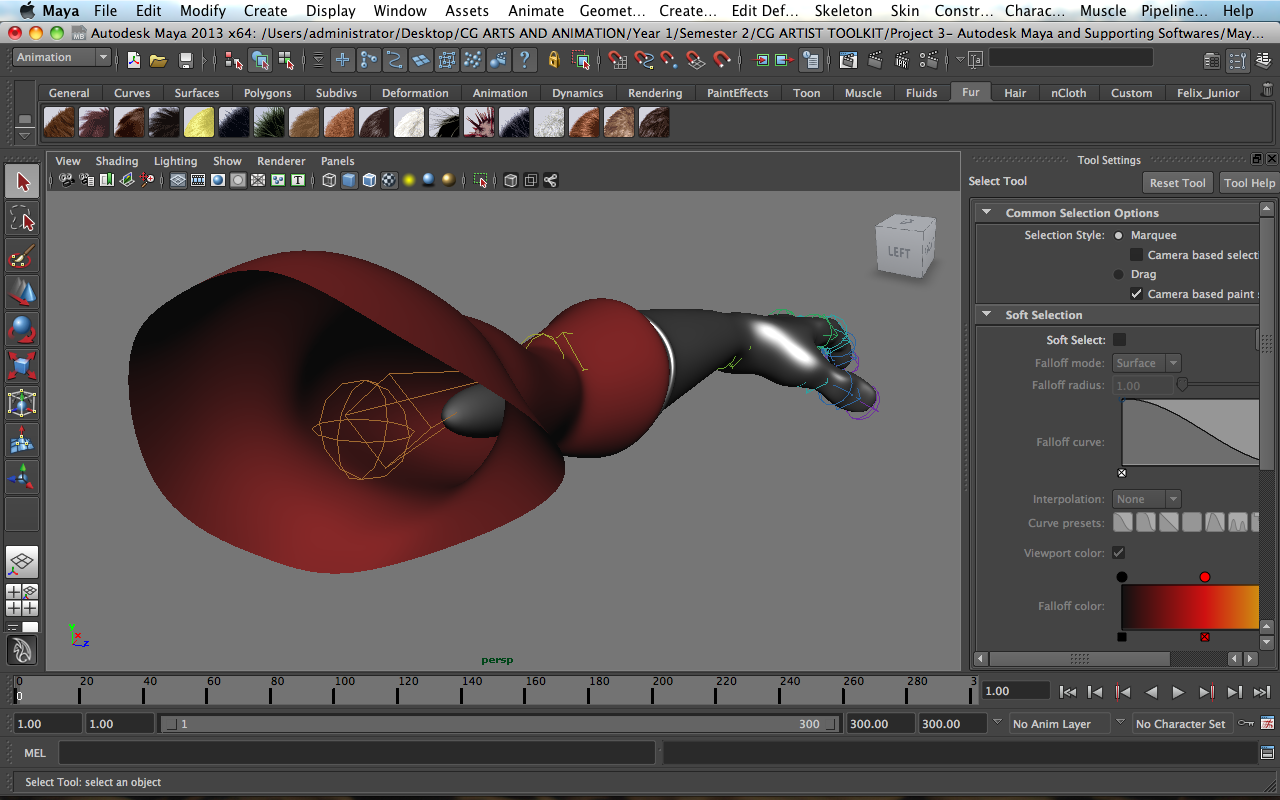
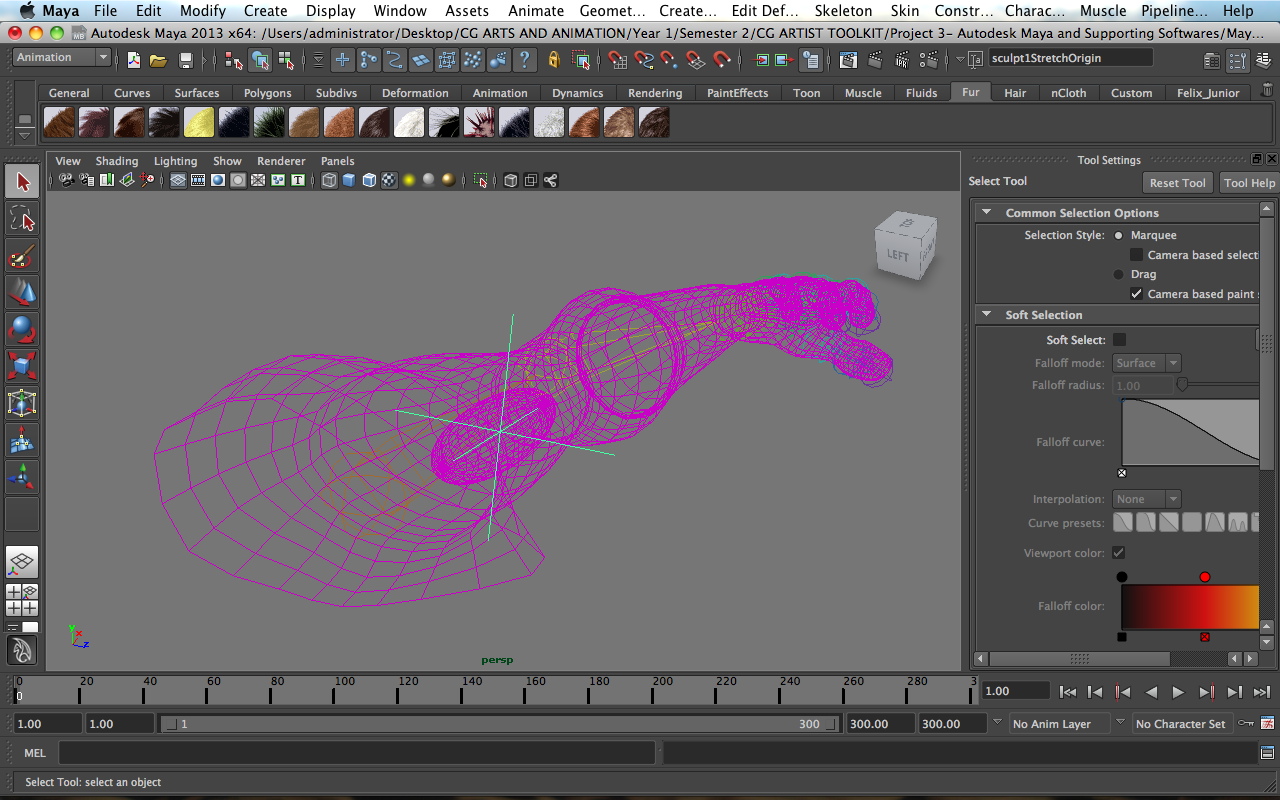
Visual Effects Deformers: Sculpt Deformers
In this tutorial, a sculpt deformer was used to shape the bicep. In order to do that, a nurb sphere is first created, sculpted to the desired shape, and unparented before an offset group is created to parent it back to the shoulder joint. This is done so that the nurb sphere itself has zero value which makes all the value at zero and tidy.
 |
| Parenting The Nurbs Sphere To The Shoulder Joint |
 |
| A Locator Is Added After The Main Mesh and The Sphere Were Bind Together By Sculpt Deformer |
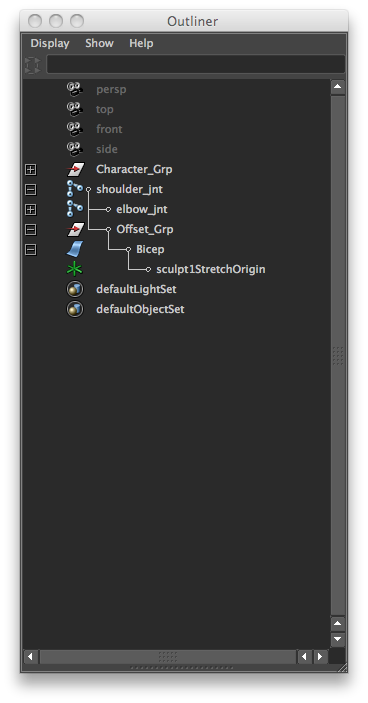 |
| Arrangement Of The Object In The Outliner |
This is an illustration of what has been achieved at the end of the tutorial.
Subscribe to:
Posts (Atom)