
Showing posts with label Toolkit AfterEffects. Show all posts
Showing posts with label Toolkit AfterEffects. Show all posts
Wednesday, 30 April 2014
Monday, 14 April 2014
Visual Effects: Depth Of Field
 |
| Before Any Camera Settings Were Changed In Maya |
 |
| Depth Of Field In Maya Cons: Too Long To Render, Grainy Effect |
The final render that has been composited in Photoshop and After Effects used images from Maya's render layers- The Beauty Pass And The Depth of Field Pass.
 |
| Depth Of Field In Photoshop, with Luminance added to the Alpha Channel Pros: Faster To Composite, More Control over the noise Cons: Single Image Composite |
 |
| Depth Of Field In After Effects Pros: Applicable For An Image Sequence |
Another method from Maya is by using render passes from the render settings. To do this, the camera depth from the tab passes under the render settings is associated to the layer named depth of field under the render layers (Channel Settings).
 |
| Settings |
 |
| Depth Of Field Using Camera Depth Pros: More Accurate In Comparison To Using Luminance Pass |
Visual Effects: Render Layers (Software Rendering)
 |
| Composited in Photoshop With A Single Render Pass From Maya |
 |
| Multiple Render Layers, Each Having Different Attributes |
 |
| The Different Passes From Maya Composited In Photoshop |
 |
| Final Image From The Compositing In Photoshop |
 |
| Compositing In After Effects |
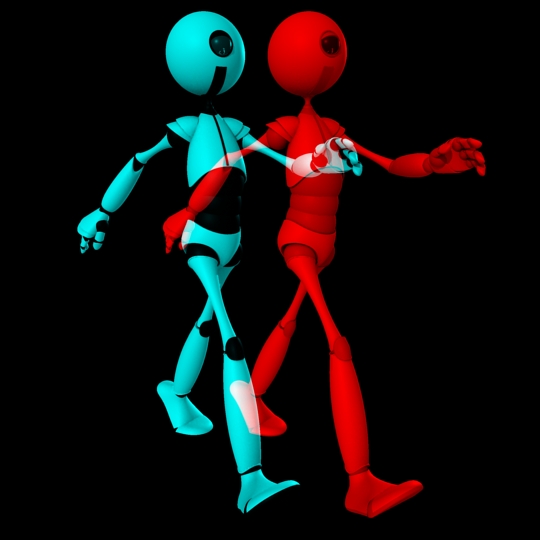
Visual Effects: Stereo Camera Rigs in Photoshop & After Effects
Method 1: Rendering Stereo From Maya
Method 2: Compositing in Photoshop
Method 3: Compositing In After Effects
The Outcome Of Using Different Effects In After Effects
 |
| Before Any Settings were changed in Maya |
 |
| Adding The Distance And Calculations |
 |
| Rendered Stereo Image From Maya |
 |
| Compositing In Photoshop |
 |
| Changing The Layer's Blending Mode To Achieve Final Result |
 |
| Final Composited Image From Photoshop |
 |
| Using Set Channels Effects |
 |
| Using 3D Glasses Effects |
Monday, 17 March 2014
Fantastic Voyage Animatics- Version 3
Fantastic Voyage Animatics- Version 2
For the second version of the animatic, I have decided to add words to help my target audience understand what they have just heard and are about to see.
Thursday, 13 March 2014
Fantastic Voyage Animatics- Version 1 (Without Sound)
Fantastic Voyage Animatic Shot 3
Fantastic Voyage Animatics (Opening/Closing Shot)
Friday, 7 March 2014
Adobe After Effects Lesson 3
For today's After Effects Lesson, we learnt how to remove the green screen using the effect Keylight 1.2. It was more effective to mask out the shape to get a cleaner key in comparison to having just applying the keylight to the layer as a whole.


Tuesday, 4 March 2014
Saturday, 1 March 2014
Soundscape Animatics Different Versions
In my second animatic, I have replaced the cheer with music to create the tempo of this sequence as I feel that it helps to drive the sequence forward.
I am still debating with myself if I should completely take both away and leave it to the ambience sound to propel the story forward. Currently, I feel that it is too much to the sequence and it just kills off the sounds that I've recorded for it.
I am going to do more adjustments to it to see what works best for the sequence as a whole.
Friday, 28 February 2014
Adobe After Effects Lesson 2
For today's Adobe After Effects lesson, we learn how to motion track. We were tasked to position the poster onto the designated place.
 |
| The live footage |
 |
| Poster Before Colour Correction |
 |
| Poster after Colour correction |
Friday, 21 February 2014
Friday, 7 February 2014
Adobe After Effects Lesson 1
For today's class, we learnt how to use Adobe After Effects. From the original image, we were told to animate the gears. It was indeed a fairly simple thing to do.
| Original Image |
Sunday, 2 February 2014
Like for Like Animatic
To get myself familiarised with Premiere Pro and getting used to the idea of having my storyboard turned into an animatic, I've used my Like for Like storyboard as a practice. After having done this, it gave me possible camera movements I can do for my soundscape project.
Subscribe to:
Posts (Atom)