Here is the first part of the skinning tutorial.
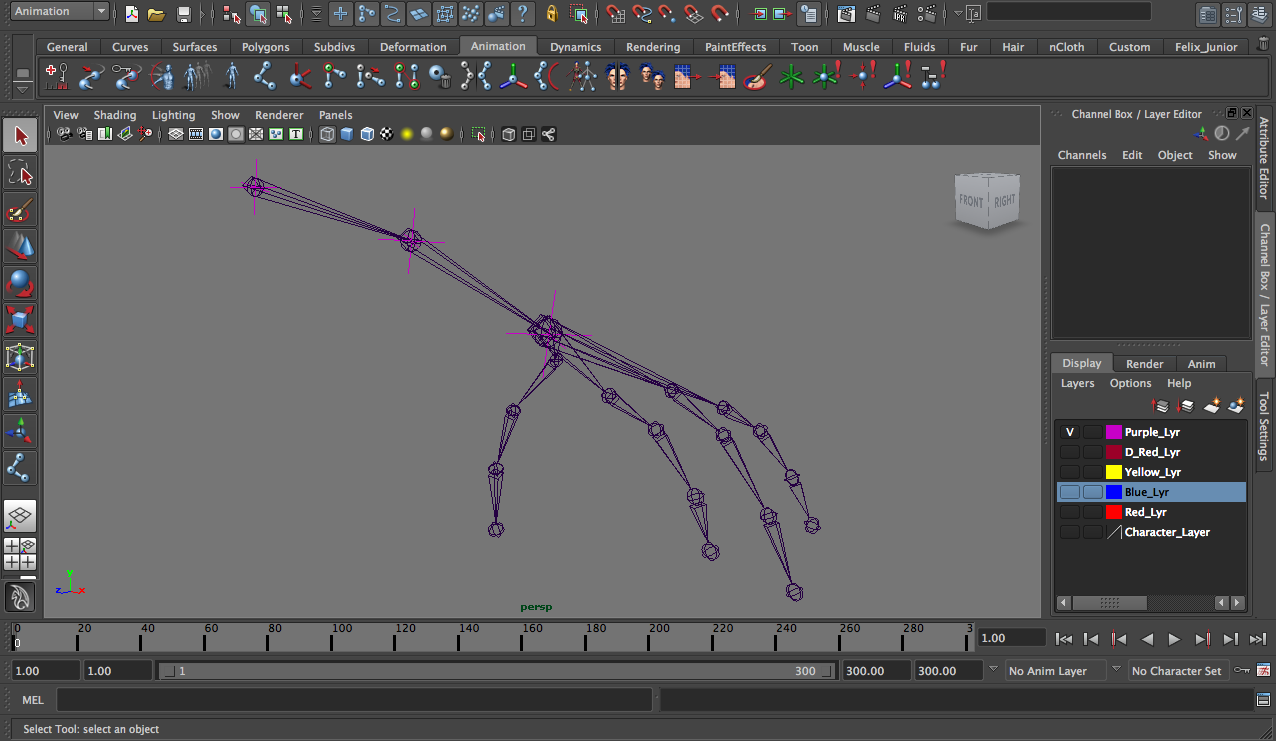 |
| Setting Up The Joints By Using The Locators as Guidance |
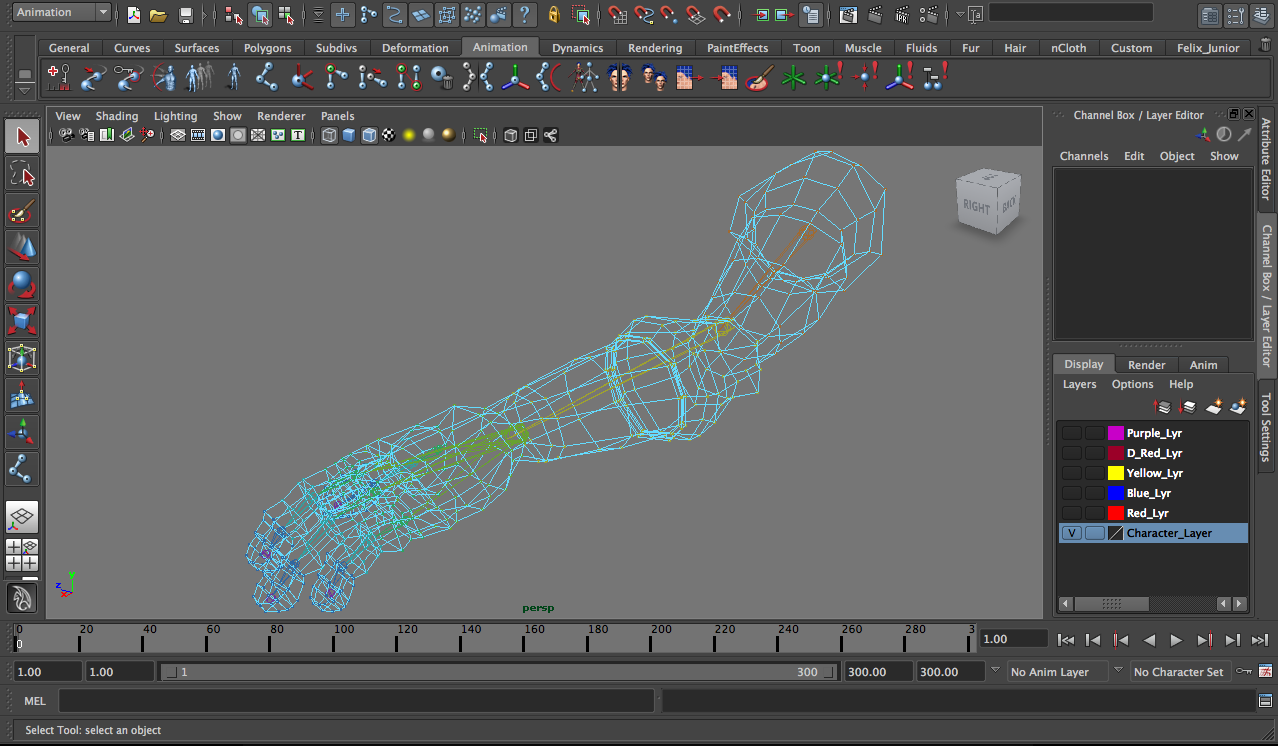 |
| Binding The Joints With The Arm Using Smooth Binding |
I've done an extreme finger positions to show that I have used the component editor to clean up the weights affecting the specific areas of the hand.
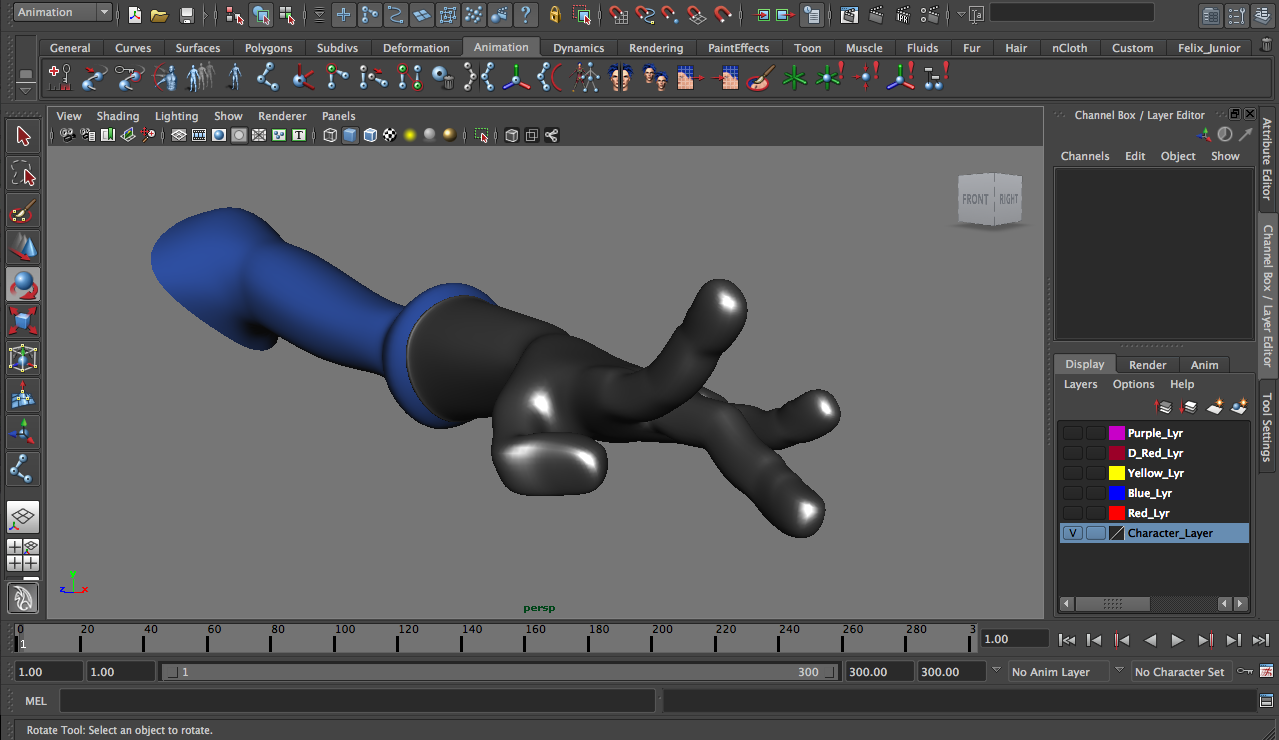 |
| Using the Component Editor To Clean Up The Weights |
 |
| After The Wrist Weight Clean Up |
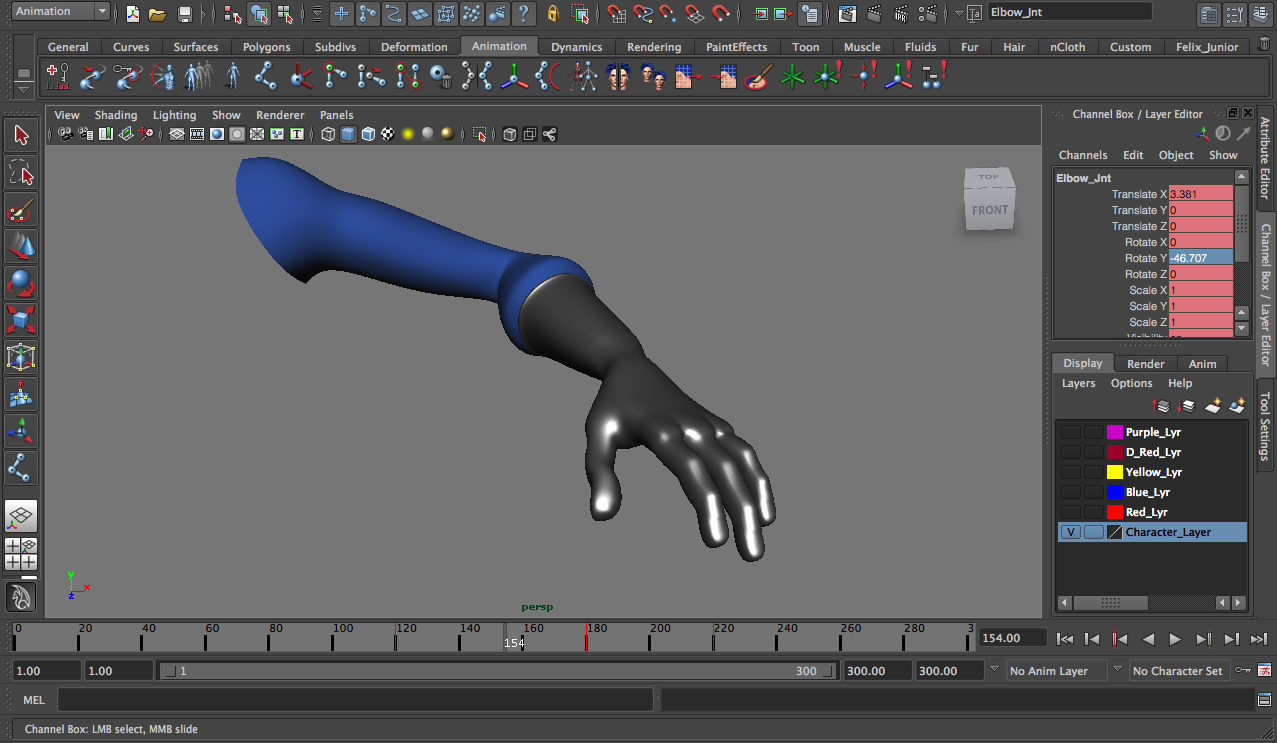 |
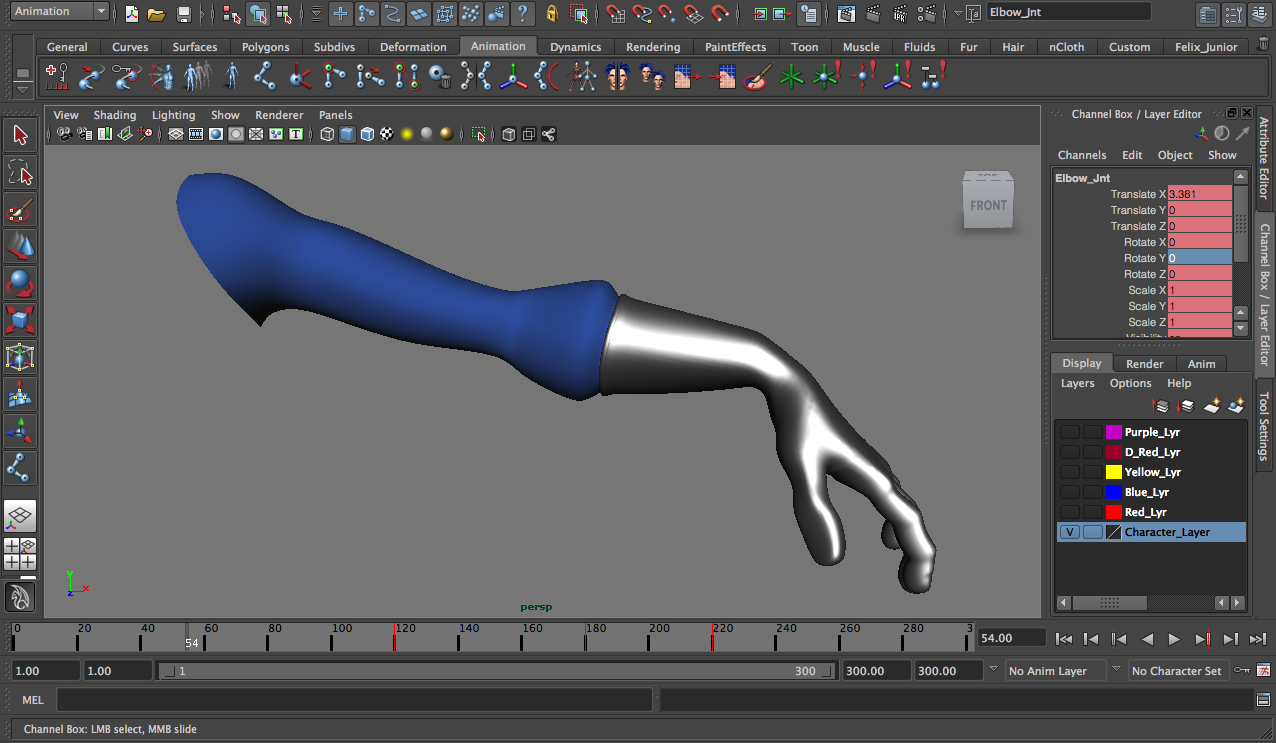
| After The Elbow Weight Clean Up |
Initially, I found out that this whole process is confusing as I was just following the video and not understanding what I was doing. So, I did this tutorial again and I think I am slowly getting it. More practise is needed and I might apply this concept in my current project.

No comments:
Post a Comment