Wednesday, 9 April 2014

Life Drawing Lesson 16

For today's Life Drawing Class, we were told that we could draw what would be beneficial to us so I started by doing postural drawings. I used a different technique than before as I used to draw with definitive lines. I've tried breaking the lines and it turned out to be pretty good. 


When it came to doing the details, it became difficult as my medium of choice is charcoal so I switched to do use a pencil instead.


To end of the lesson, we were allowed to either do studies or draw the model and I have chosen to do a study of the leg.


Tuesday, 8 April 2014

Fantastic Voyage: Room(Digital Set) Further Development

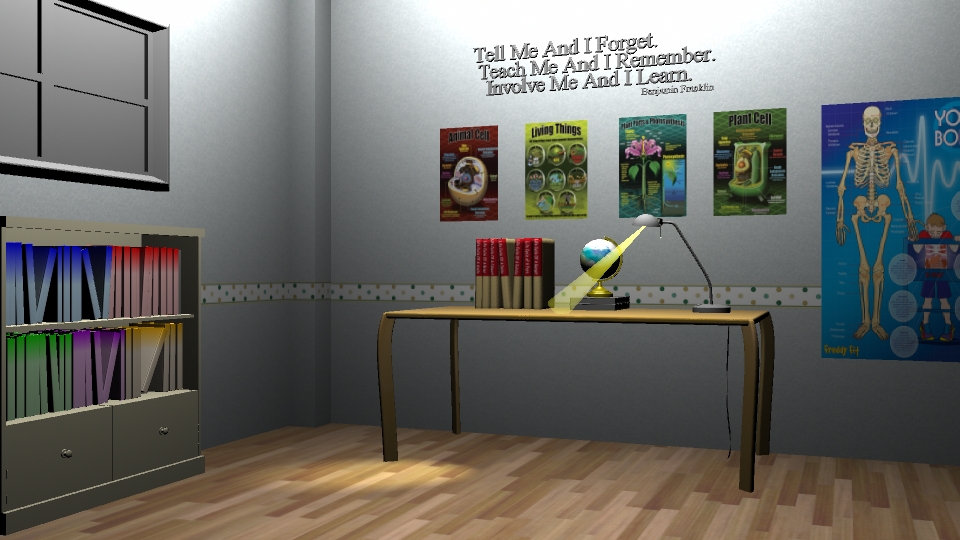
I've added the skirting board, adjusted the borders and the colour of the main wall. Though it has been suggested to add a poster to the back wall, I do not want it to be overpowering the educational posters that are already on those walls so I've added a bit of texture to it but it doesn't seem to take effect. Hence, I will try bump mapping it to give a more realistic feel.  Apart from that, I was thinking of adding a couple more poster to the left wall (by the window) as the space there seems a little bit empty. In addition to the further enhance this set, I've done some adjustments in terms of adding folds onto the posters. However, it still looks unrealistic. The lack of shadow might be a contributing factor to this problem. 

In comparison to my previous shot, this looks better but I am not satisfied with the overall look as it still looks too CG. I will further enhance the scene by fiddling with my lighting set up and I have decided that this will take place at evening time where the light from the outside world would not affect the scene as much except giving some rim lighting to the top of the bookshelf and the edge of the table.

Monday, 7 April 2014

Fantastic Voyage: Room(Digital Set) Texturing & Lighting

After taking into the consideration to make my digital set more engaging, I've added texture to the wall and the ground. I've also added an educational quote and posters into my scene.

I still have to unlink the spotlight to the table as the light is passing through it. As for now, this is what I have. I also still adjusting the room's light in general because there is a hotspot created by the area light in my scene. In terms of texturing it, I would refine the wall's texture by moving the border of the room slightly higher.


Fantastic Voyage: Sun Ray

 In my opening scene, I have my center fern in the spotlight to start of the animation. Initially, I have had the sunray as a paper fold out but after analysing my scene and fiddling with the lightings, I thought that having the table lamp would have a better effect. With this, I am thinking of just having the lamp slightly off screen so that you won't see it but you will hear the lamp click, and light will shine on the center fern.

Paper Fold Out SunRay
Table Lamp Sun Ray

Fantastic Voyage: Room's Lighting

For the establishing shot and the closing shot where the room is seen, I've decided to test out with different lightings. I like the outcome of the area light as it mimics a room's light more in comparison to the ambient light. I am, however, still fiddling with the light settings like the colours, raytrace Shadows attributes to produce better results. 

Ambient Light

Area Light

Sunday, 6 April 2014

Visual Effects Deformers: Sculpt Deformers

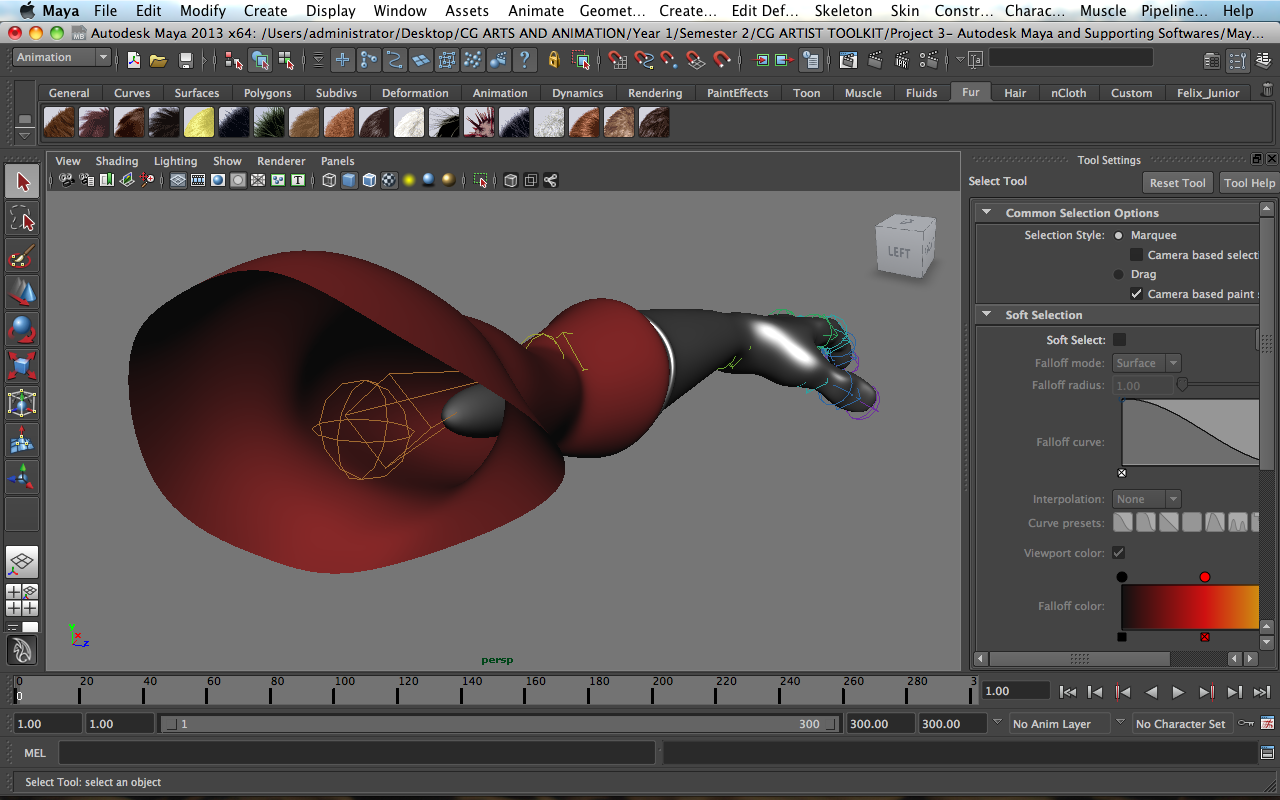
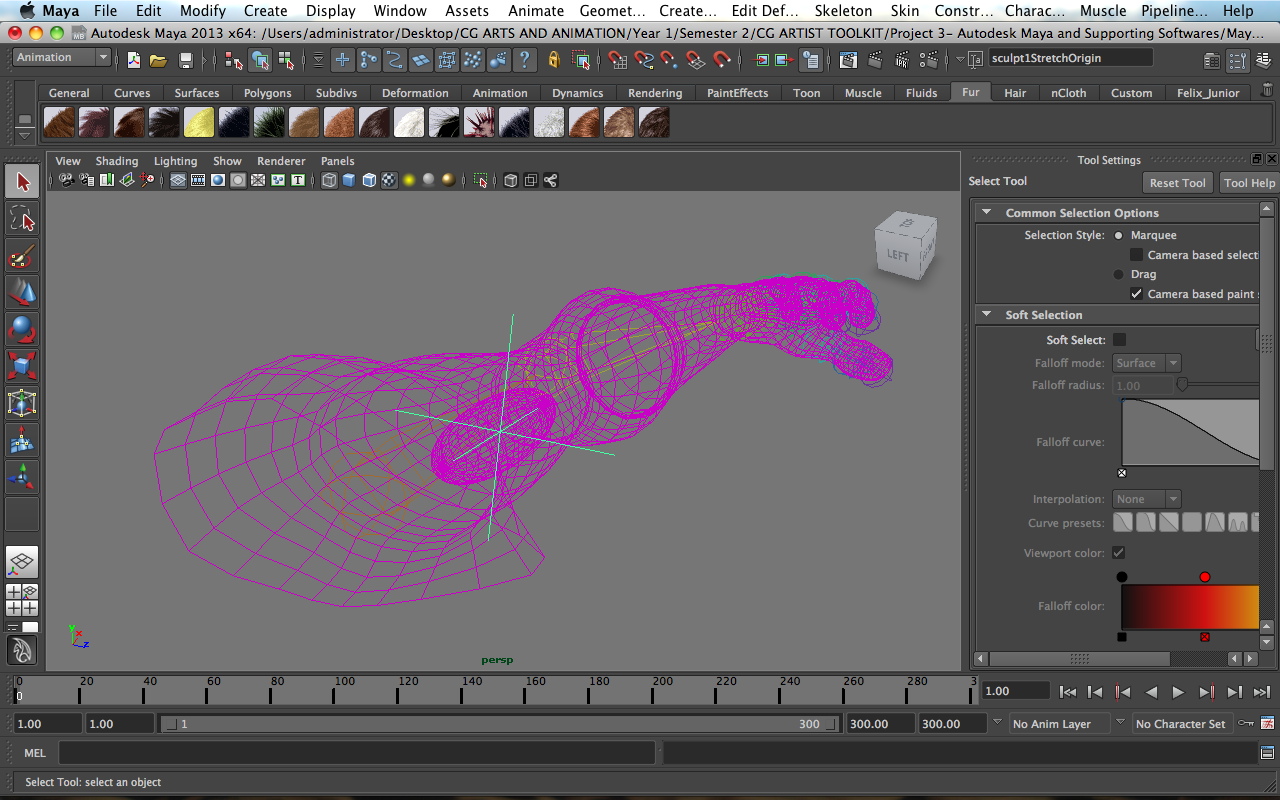
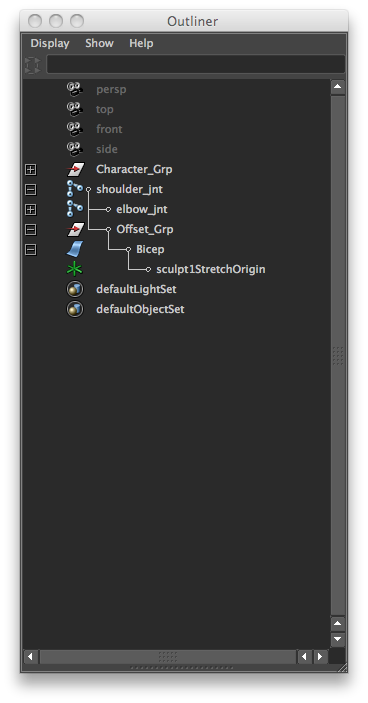
In this tutorial, a sculpt deformer was used to shape the bicep. In order to do that, a nurb sphere is first created, sculpted to the desired shape, and unparented before an offset group is created to parent it back to the shoulder joint. This is done so that the nurb sphere itself has zero value which makes all the value at zero and tidy.

Parenting The Nurbs Sphere To The Shoulder Joint
A Locator Is Added After The Main Mesh and The Sphere Were Bind Together By Sculpt Deformer
Arrangement Of The Object In The Outliner

This is an illustration of what has been achieved at the end of the tutorial.

Visual Effects Deformers: Wire Deformers

For this tutorial, instead of soft selecting the vertices, a curve with clusters was created to control the movement of the eyebrows.

Creating The Curve 
Before Painting The Weight Around The Eyebrow Area
After Painting The Weight Around The Eyebrow Area
After All The Three Different Shapes of Eyebrow
After The Main Head Mesh Is Connected ToThe Different Eyebrows
Here's a video to illustrate what has been done for this tutorial.

Visual Effects Deformers: Creating Mirrored Blend Shapes

In this tutorial, I've learnt to mirror the blendshapes to affect the eyebrows.
Duplicating The Head And Moving The Vertices Around The Eyebrow Area
Duplicating The Head And Mirroring It To Affect The Eyebrow On The Other Side 
Rearranging The Input For The Blednshape To Work Properly Without Affecting The Skinning

After Blendshaping
Original Placing of Eyebrows
Eyebrows Moved
Though it is not required but I did a short playblast to show the different facial expression by keying the new blend shaped eyebrows and the jaws.

Fantastic Voyage Final Previz

This is my final previz, and I have had the voice over to be in sync with the video. There are some timings that are a bit off but overall, I am happy as this has given me a rough idea of my final animation.


Wednesday, 2 April 2014